
This short guide shows you how to configure Hierarchical (multi-level) expense approvals in Zoho Expense, ensuring all your organizational expenses are reviewed and approved in the correct order based on predetermined reporting structure.
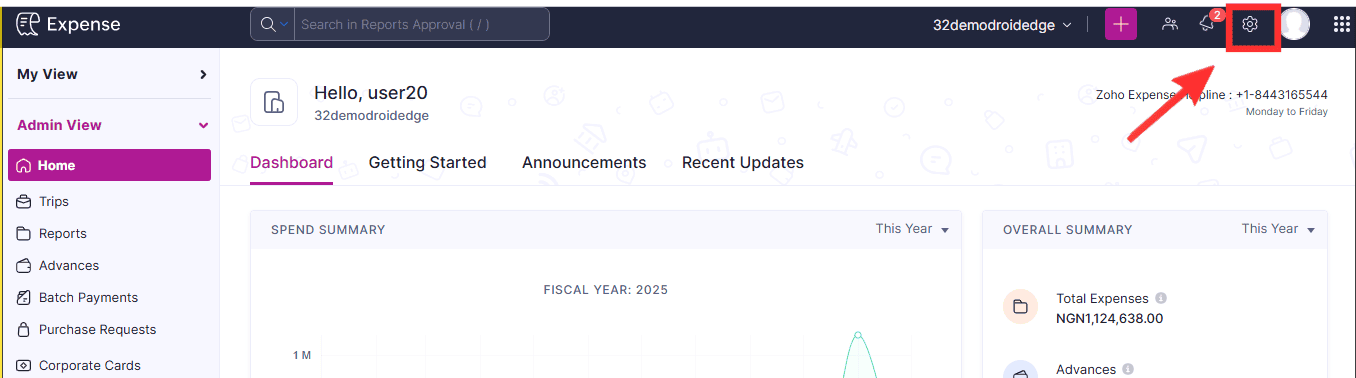
STEP 1: Go to Settings on your home screen
On your home screen, click on the settings/gear icon on the top right corner
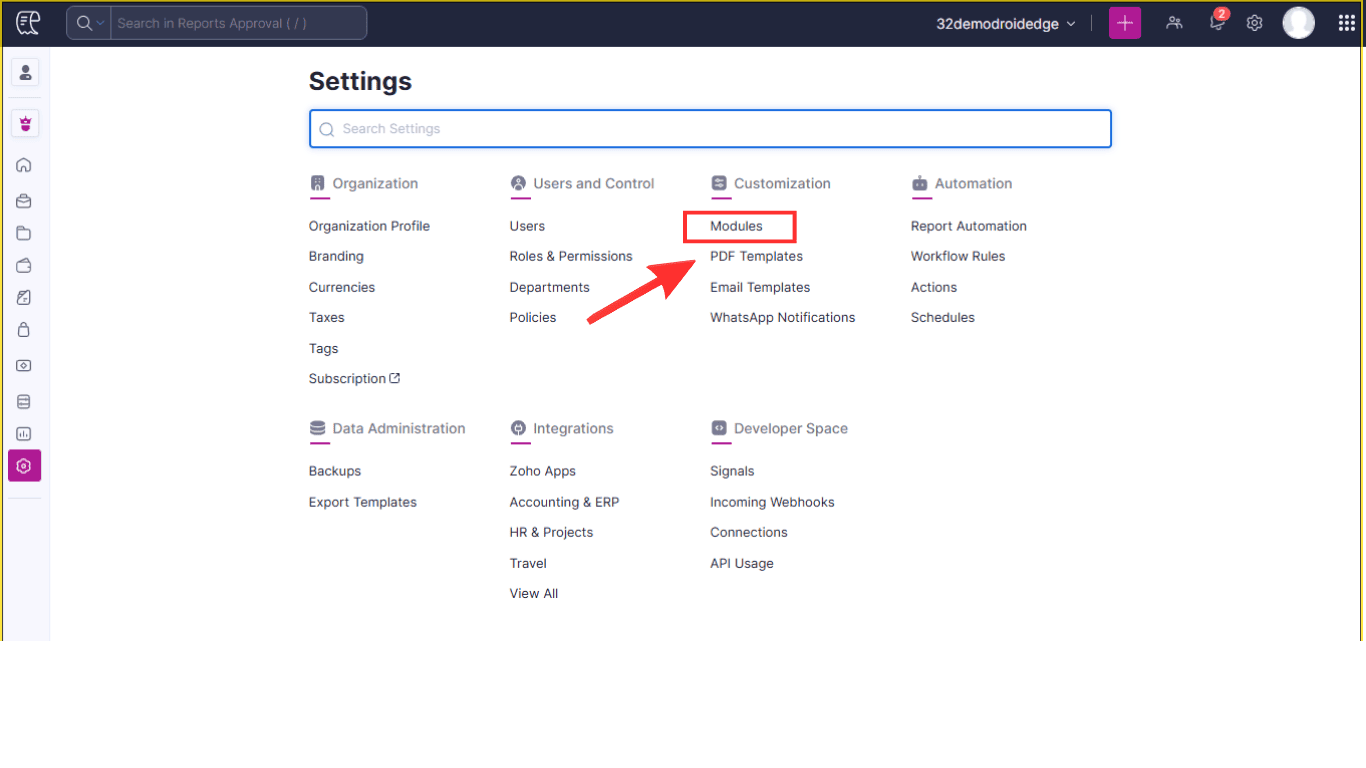
STEP 2: Click on Modules.
Under Customization, click on Modules
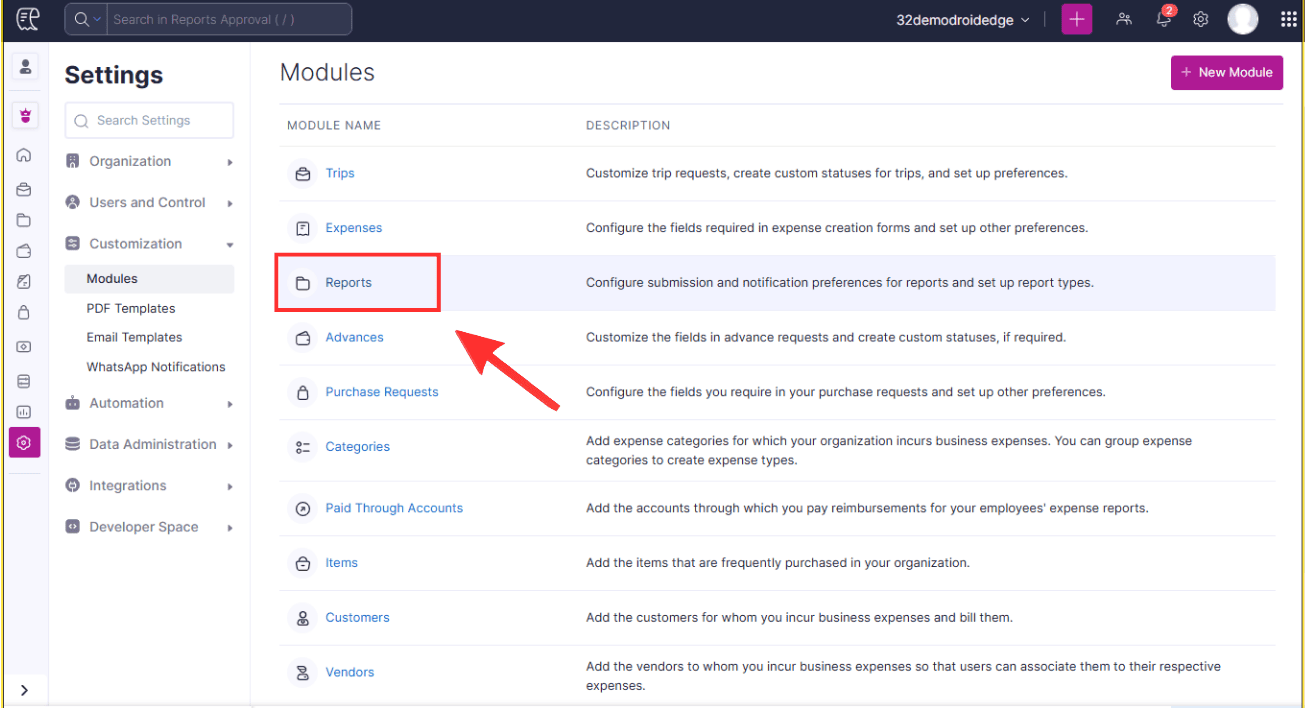
STEP 3: Click on Reports.
After clicking on Modules, the system will take you to the next page where you should click on Reports.
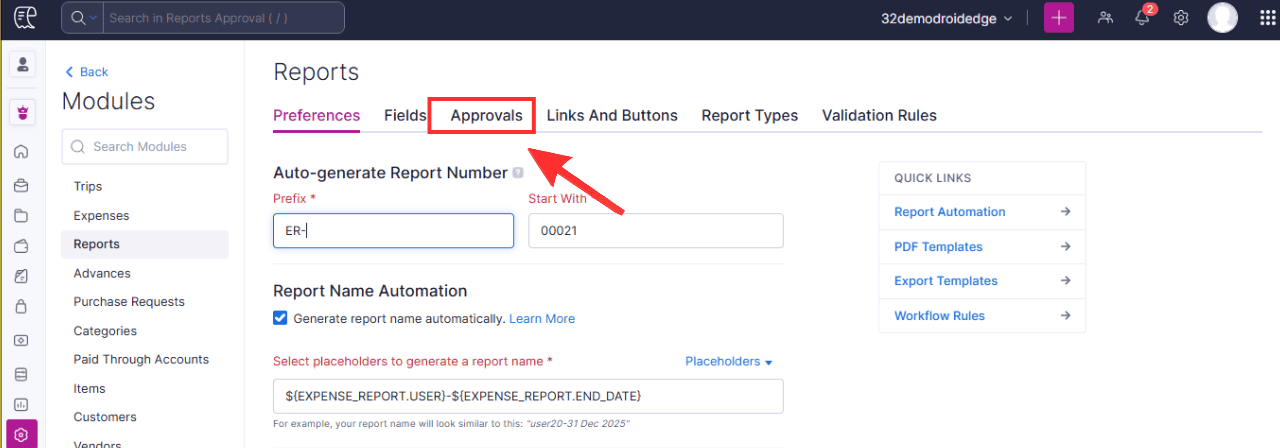
STEP 4: Click on Approvals.
On the Reports screen, there will be various headers there, so you only need to click on Approvals.
STEP 5: Click on Custom Approval.
On this screen, you can either click on Hierarchical approval or Custom Approval.
Hierarchical approval routes expenses through the employee’s reporting line, automatically sending submissions to the direct manager and escalating upward as configured when setting up a user in the system.
Custom approval routes expenses to specific users or roles based on predefined rules such as amount, category, department, or location, independent of the reporting hierarchy.

STEP 6: Create the Custom Approval Flow.
Type in the Approval name.
Define the criteria(s) for the Approval
Configure the Approval level(s)

STEP 7: Click on Save to finalize creating the Custom Approval.
On clicking on the Save button, you have just created your first Hierarchical Approval in Zoho Expense.
Conclusion
This short guide by Droidedge Consulting has showed you the step-by-step process of setting up both Hierarchical and Custom Approvals in Zoho Expense.
If you require further assistance, kindly write to us at contact@droidege.com or contact us here.