
What do locations mean in Zoho Books?
Locations in Zoho Books allow you to track transactions, inventory, and reports separately for different branches, warehouses, stores, or offices all under the same organization.
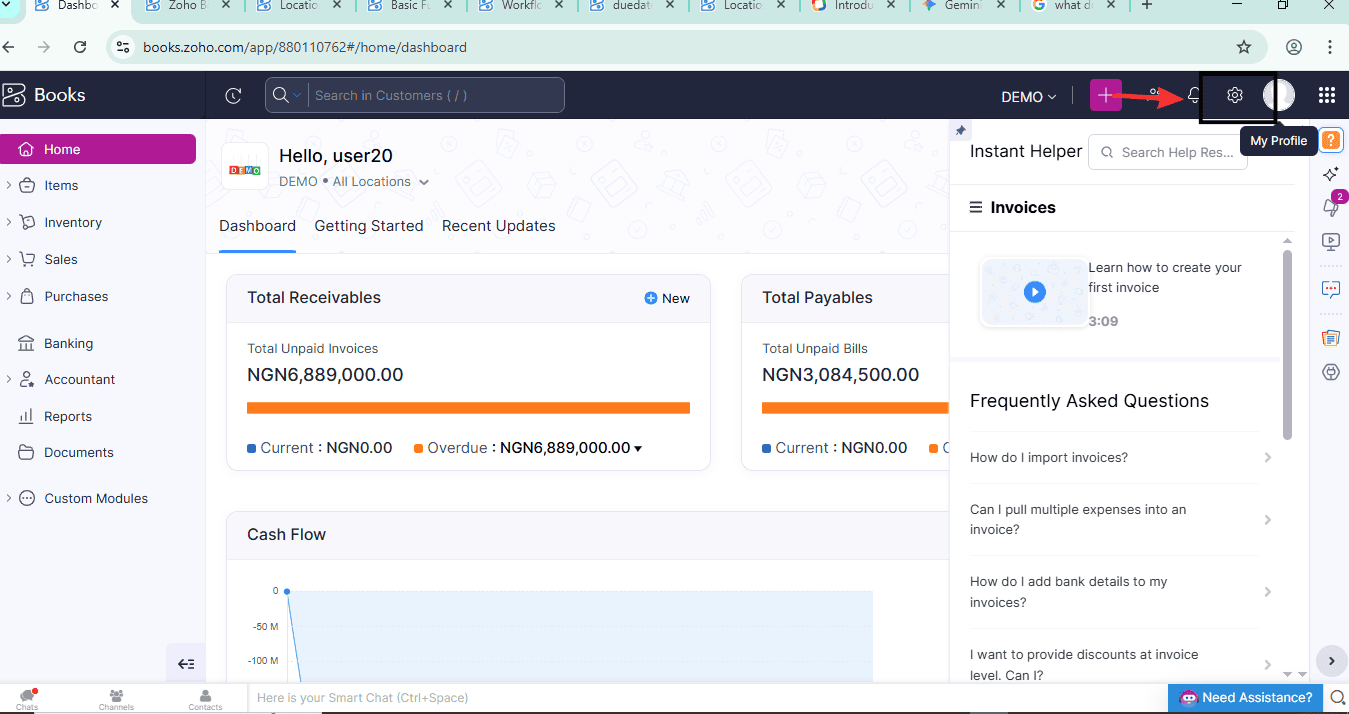
Step 1: Enable Locations in Zoho Books
Go to Settings (top-right)
Select Preferences
Click General
Enable Locations
Click Save
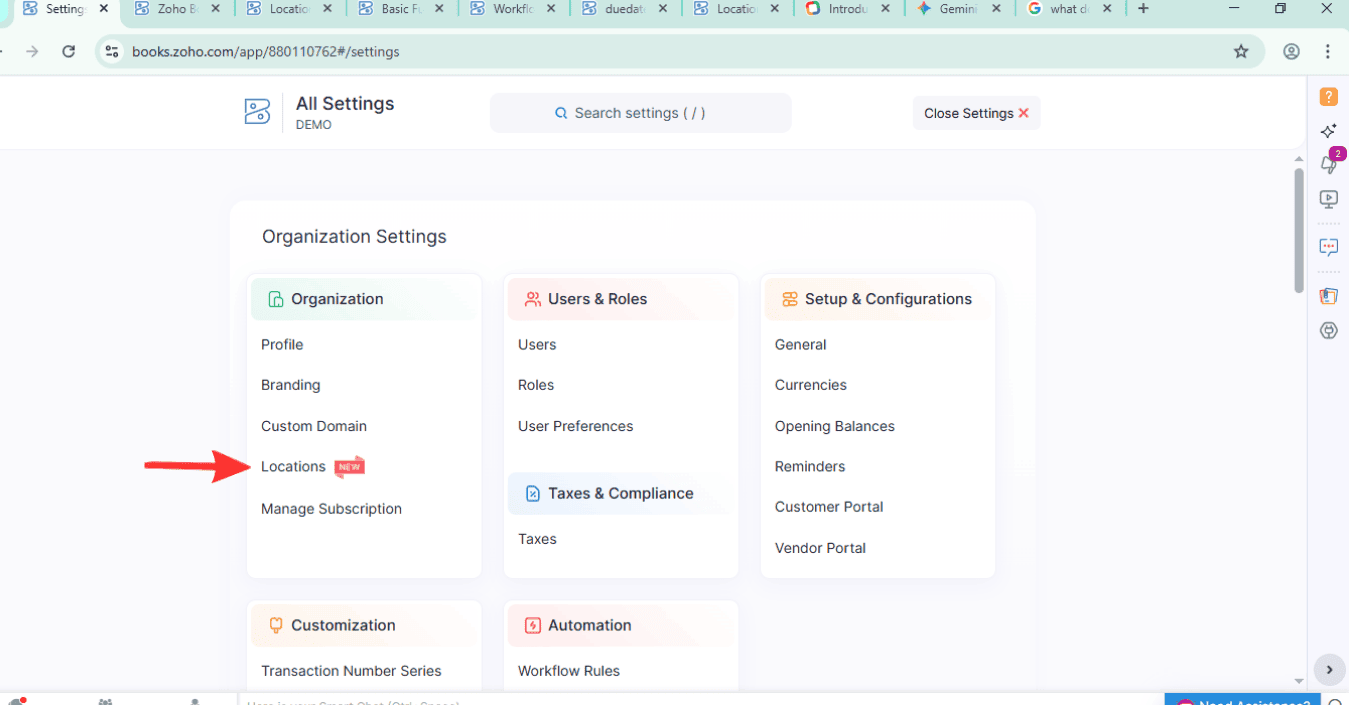
Step 2: Go to Settings → Locations
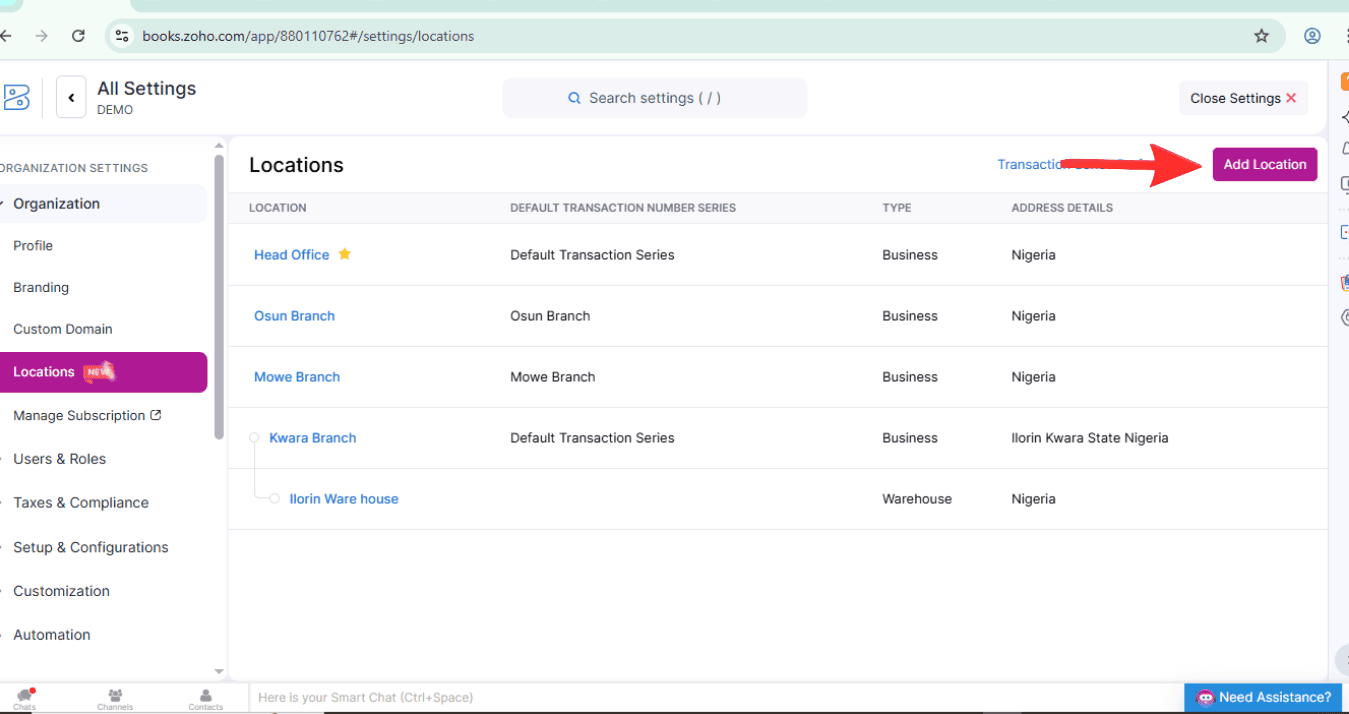
Step 3: Click Add Location in the top-right corner
Step 4: Select a Location Type
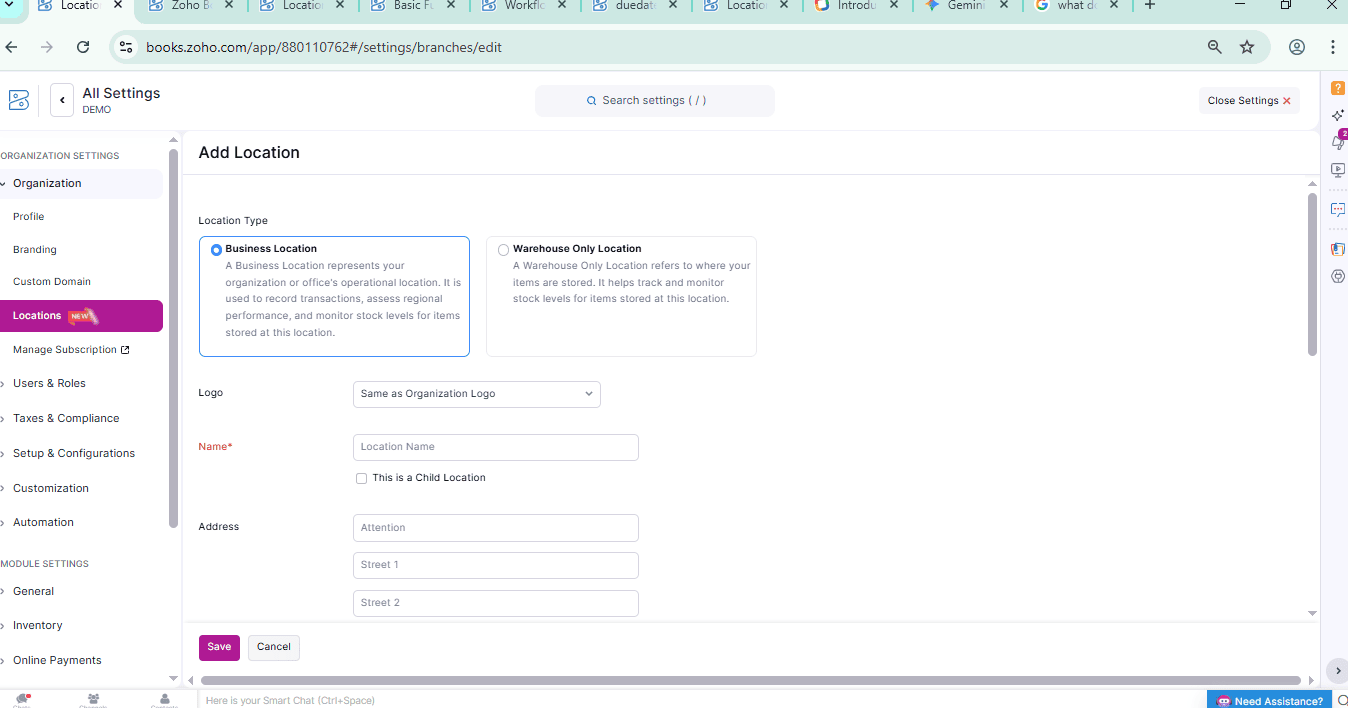
Step 5: Enter the location name
Step 6: Click the This is a Child Location option if the location that you are creating is a child location and select a Parent Location from the dropdown
Step 7: Select the Primary Contact, Transaction Number Series, and the Default Transaction Number Series for the location
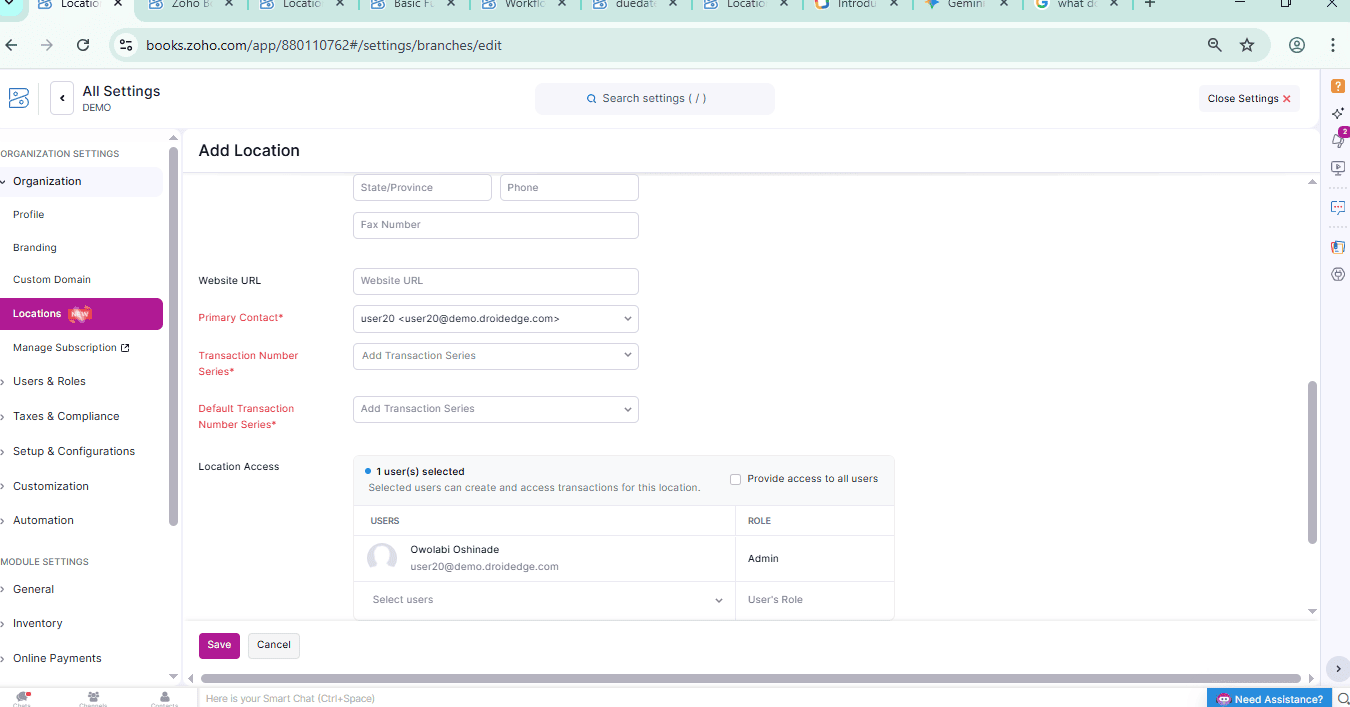
Step 8: Click Save
Conclusion
This short guide by Droidedge Consulting has showed you the step-by-step processes on How to create and handle multiple location in Zoho books. If you require further assistance, kindly write to us at contact@droidege.com or contact us here.